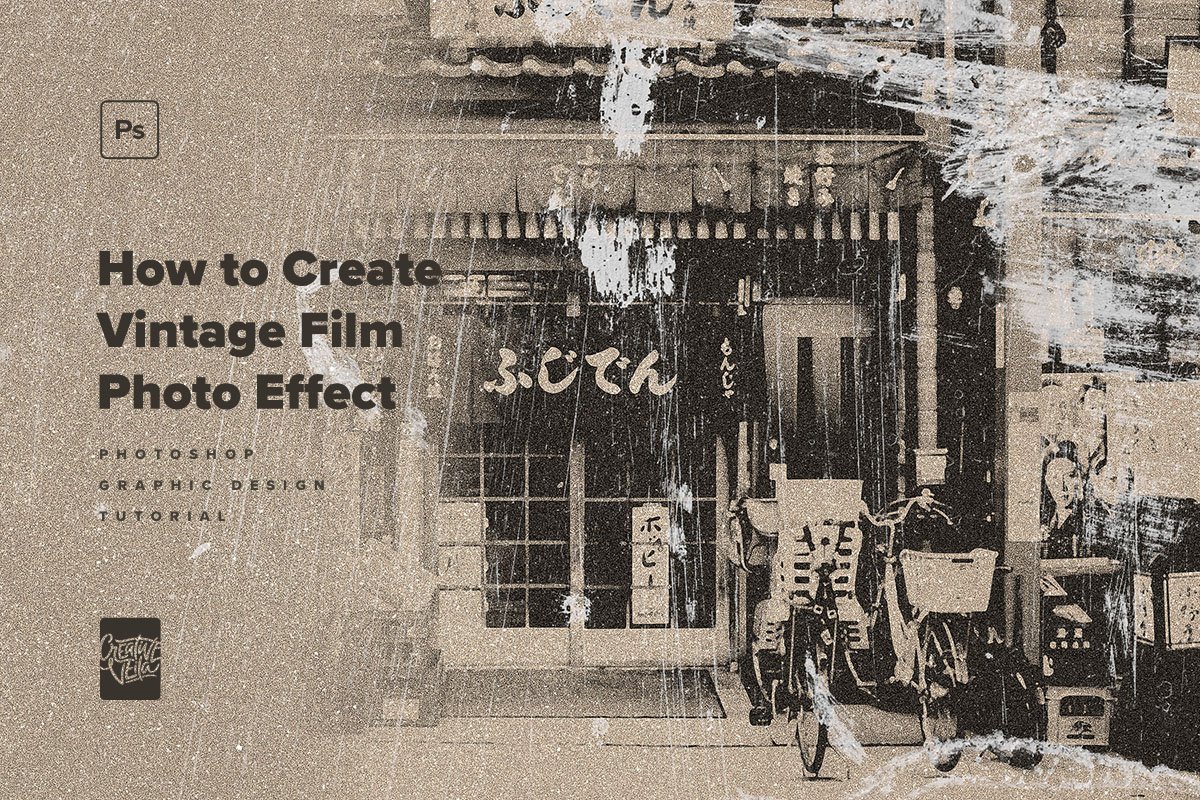
How to Create Vintage Photography Effect in Photoshop
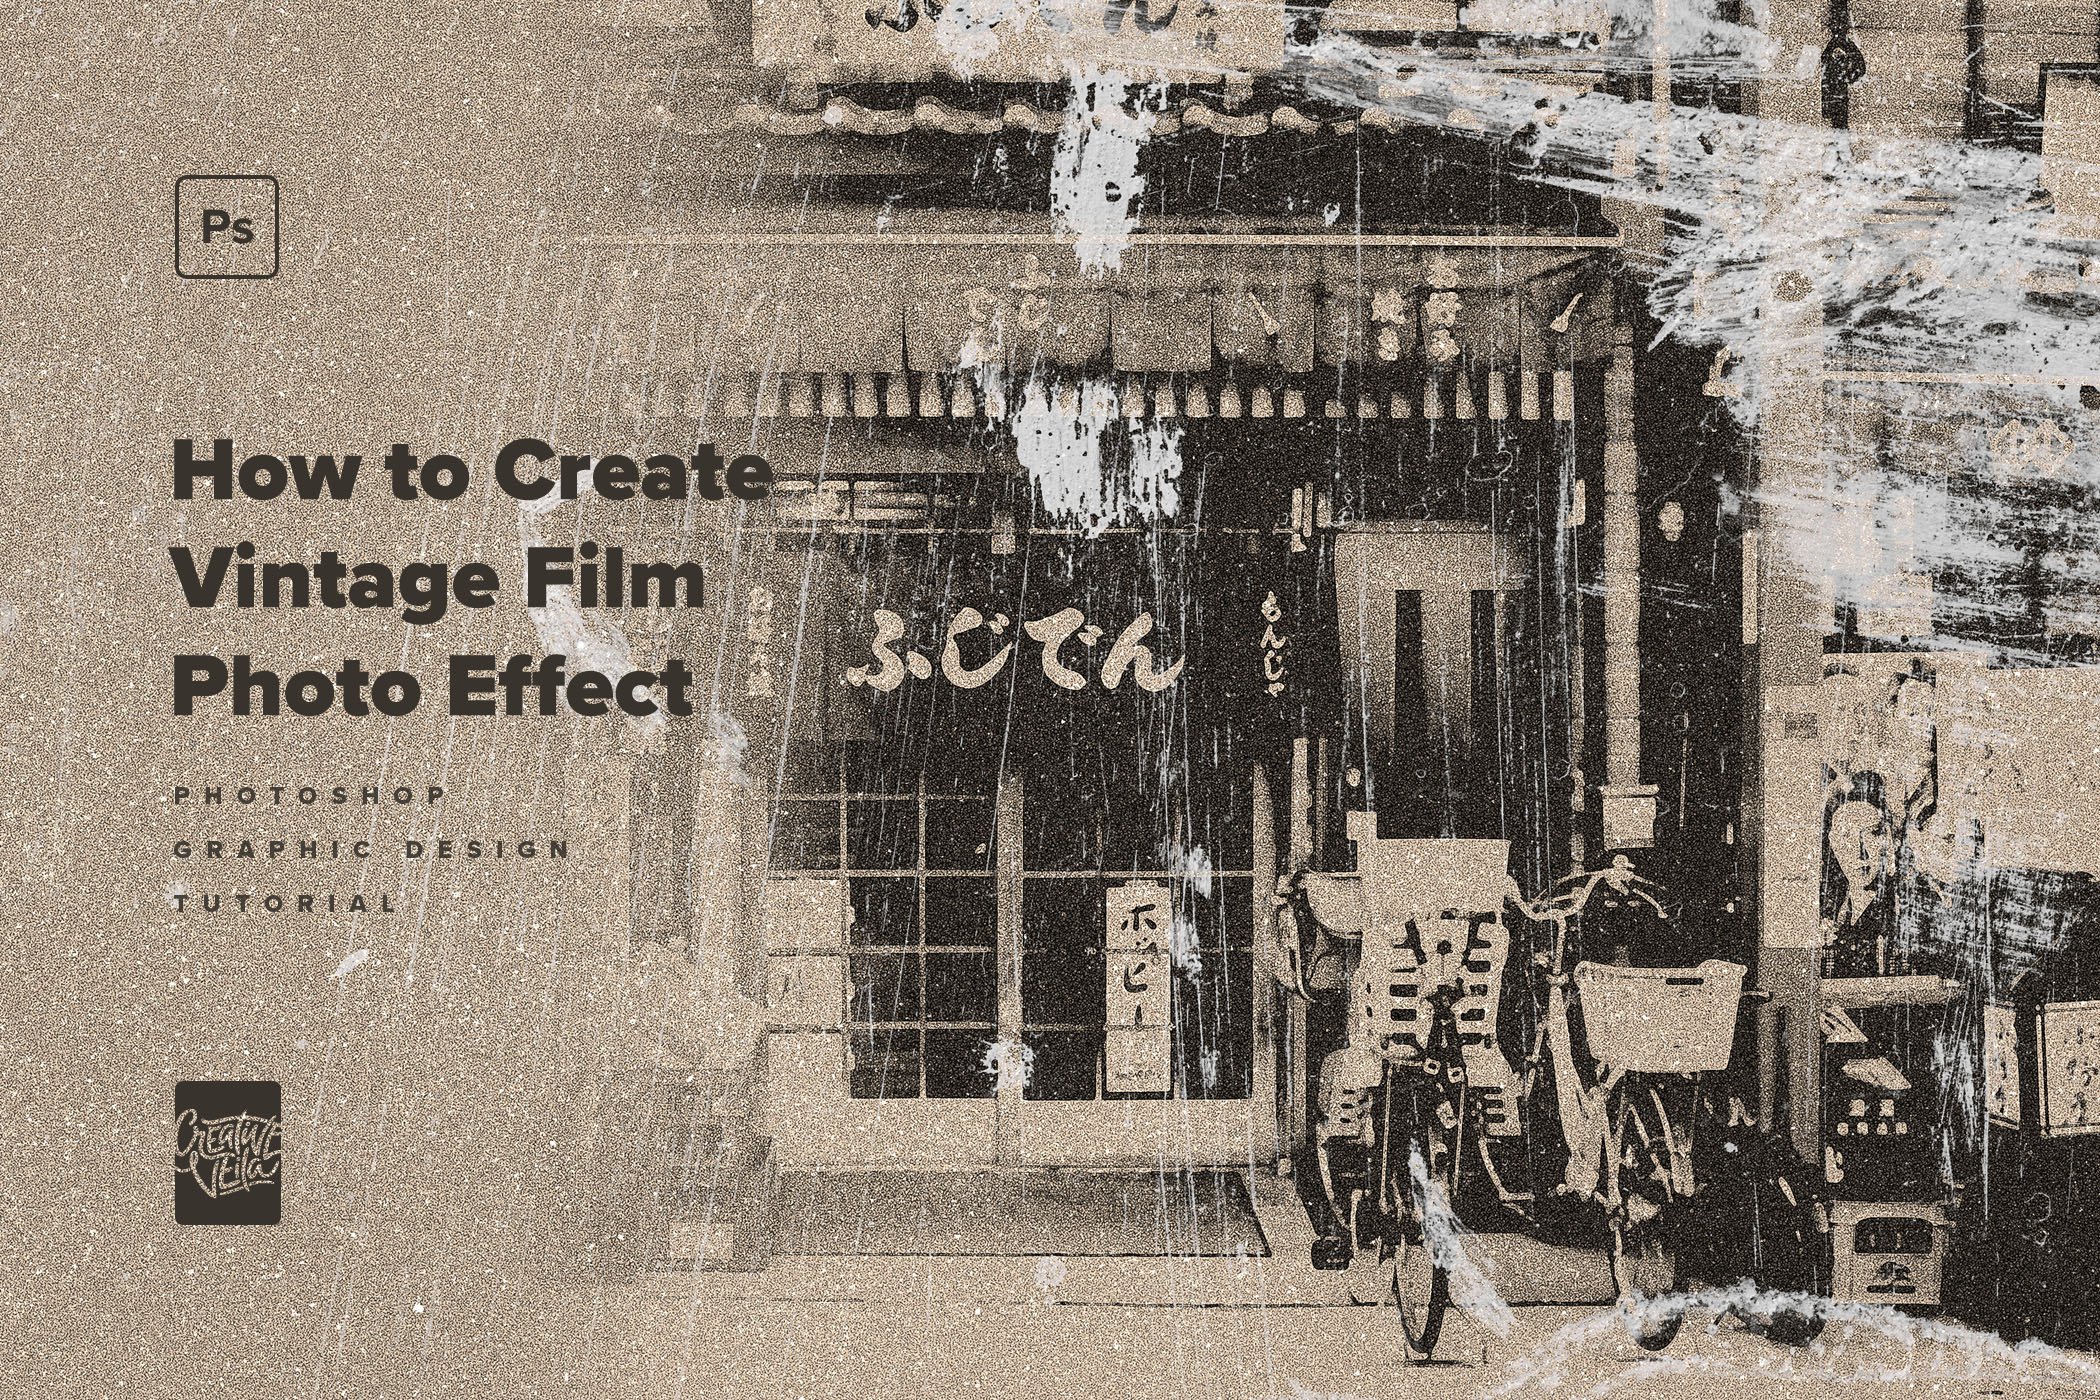
The vintage graphic design style is always in demand, especially if you approach your art with creativity. There are many ways to render a vintage look on your image. And we're about to share a few quick steps to help you create an authentic yearly photography photo effect Photoshop template you can edit and adjust.
Step 1.
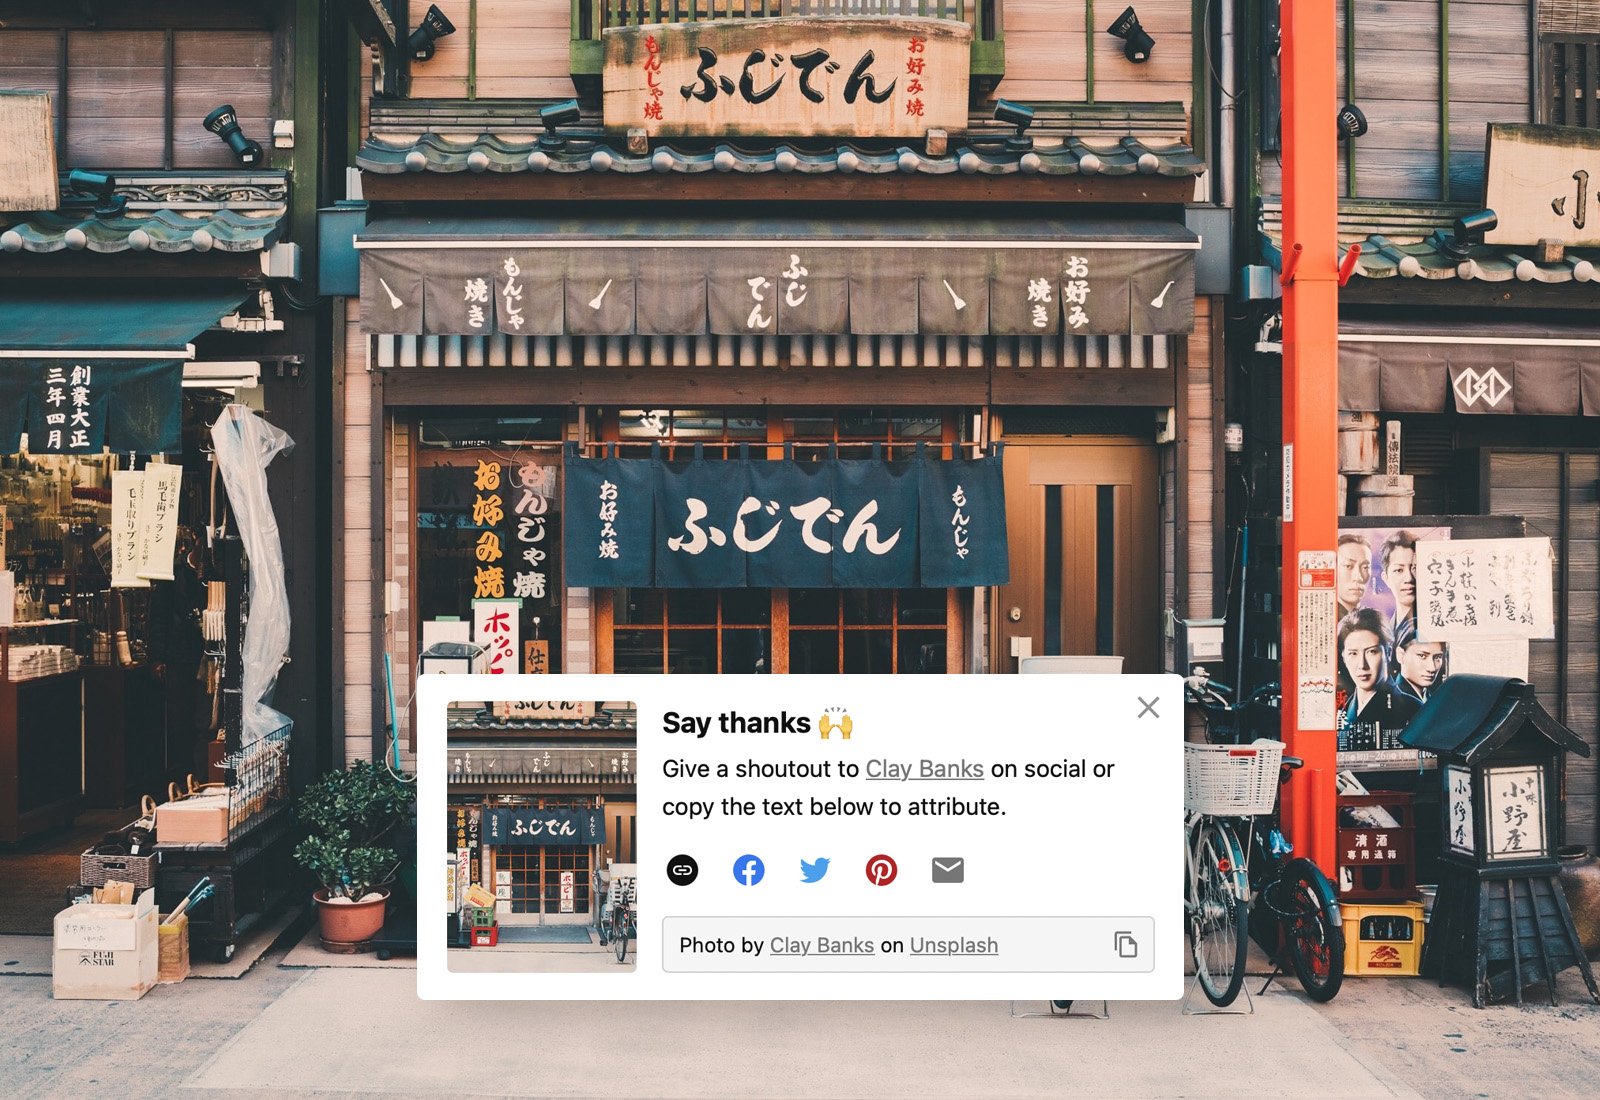
Let's find an image to turn into a vintage photo card. You can use a portrait or a product shot, but I can't help but adore this beautiful storefront shot by Clay Banks and available on Unsplash. The composition is brilliant, and all these details would look amazing with the effect we're creating.
Step 2.
Next, we're converting the image to Smart Object to make our effect non-destructive and fully editable. The Smart Object feature would allow us to change the initial design, even when the effect is already applied.
Open the image you downloaded, name the layer 'photo effect' to ensure your Smart Object would be appropriately named, select your image layer, hit the right mouse button, and click on the Convert to Smart object command.

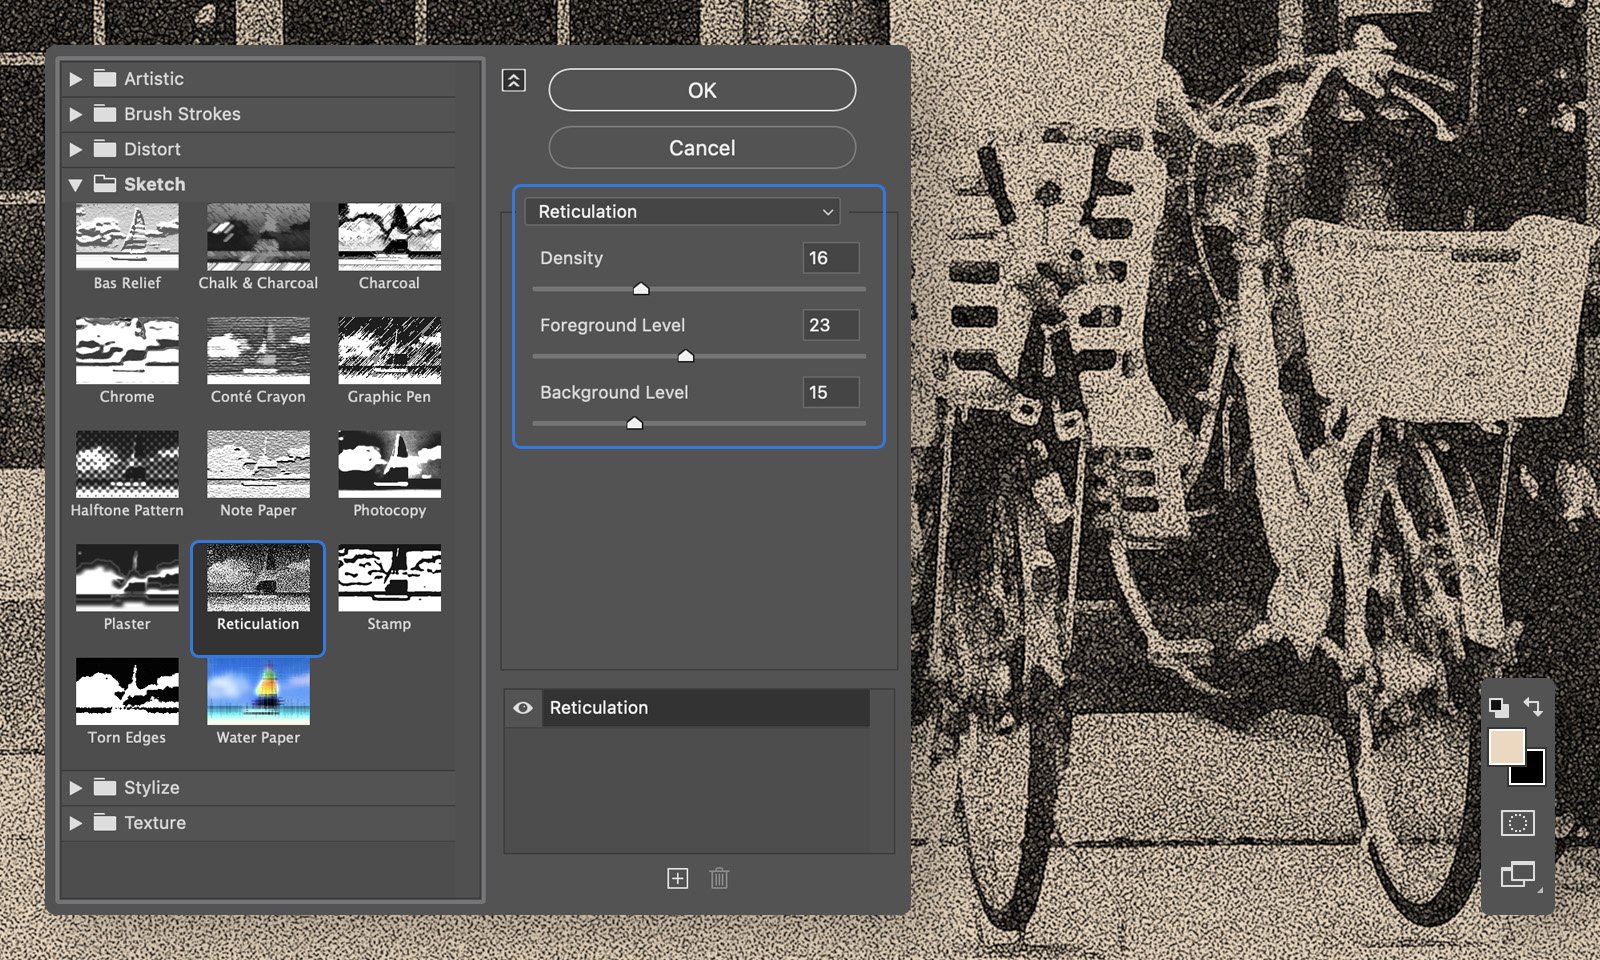
Step 3.
We're going to use a Reticulation filter from the Photoshop filter gallery. Before applying, it's important to set a foreground color in Photoshop to sepia to get the right color for the final image. Otherwise, the render would be unpredicted. I use #efd7bd.
After that, go to Filter/Filter Gallery/Sketch/Reticulation, and experiment with adjustable parameters to find the right balance of Density, Background, and Foreground details. Naturally, the setting would be individual for various images.
Step 4.
We'll need a grunge texture that would perfectly overlay our design. Here is a photo by Ashkan Forouzani we're going to use.

Step 5.
Place the texture layer above the Smart Object, and open the Layer Style window by hitting the left mouse button twice on the layer. Change the blend mode to Lighten.
Next, move to the Blend If section, situated lower. Leave the dropdown menu with the selected Gray option, and start tweaking points of the This Layer section. We need to hide the darker part of our texture, so we split the left point in two by left-clicking on it and holding the Alt key, and when it's split, we set the 69 to 179 range of grays be hidden. Hit the OK button.

We're done! Enjoy the the the incurably authentic feel for the template you just created. And if you want to apply this effect to another image, open the Smart Object, place a new image on top, and close with saving. Photoshop will instantly use the effect again.

This tutorial is created and fully compatible with the Adobe Photoshop CC version. For the best experience, we recommend using the latest Creative Cloud version of the app.