How to Create a Halftone Effect in Photoshop (3 Easy Methods)
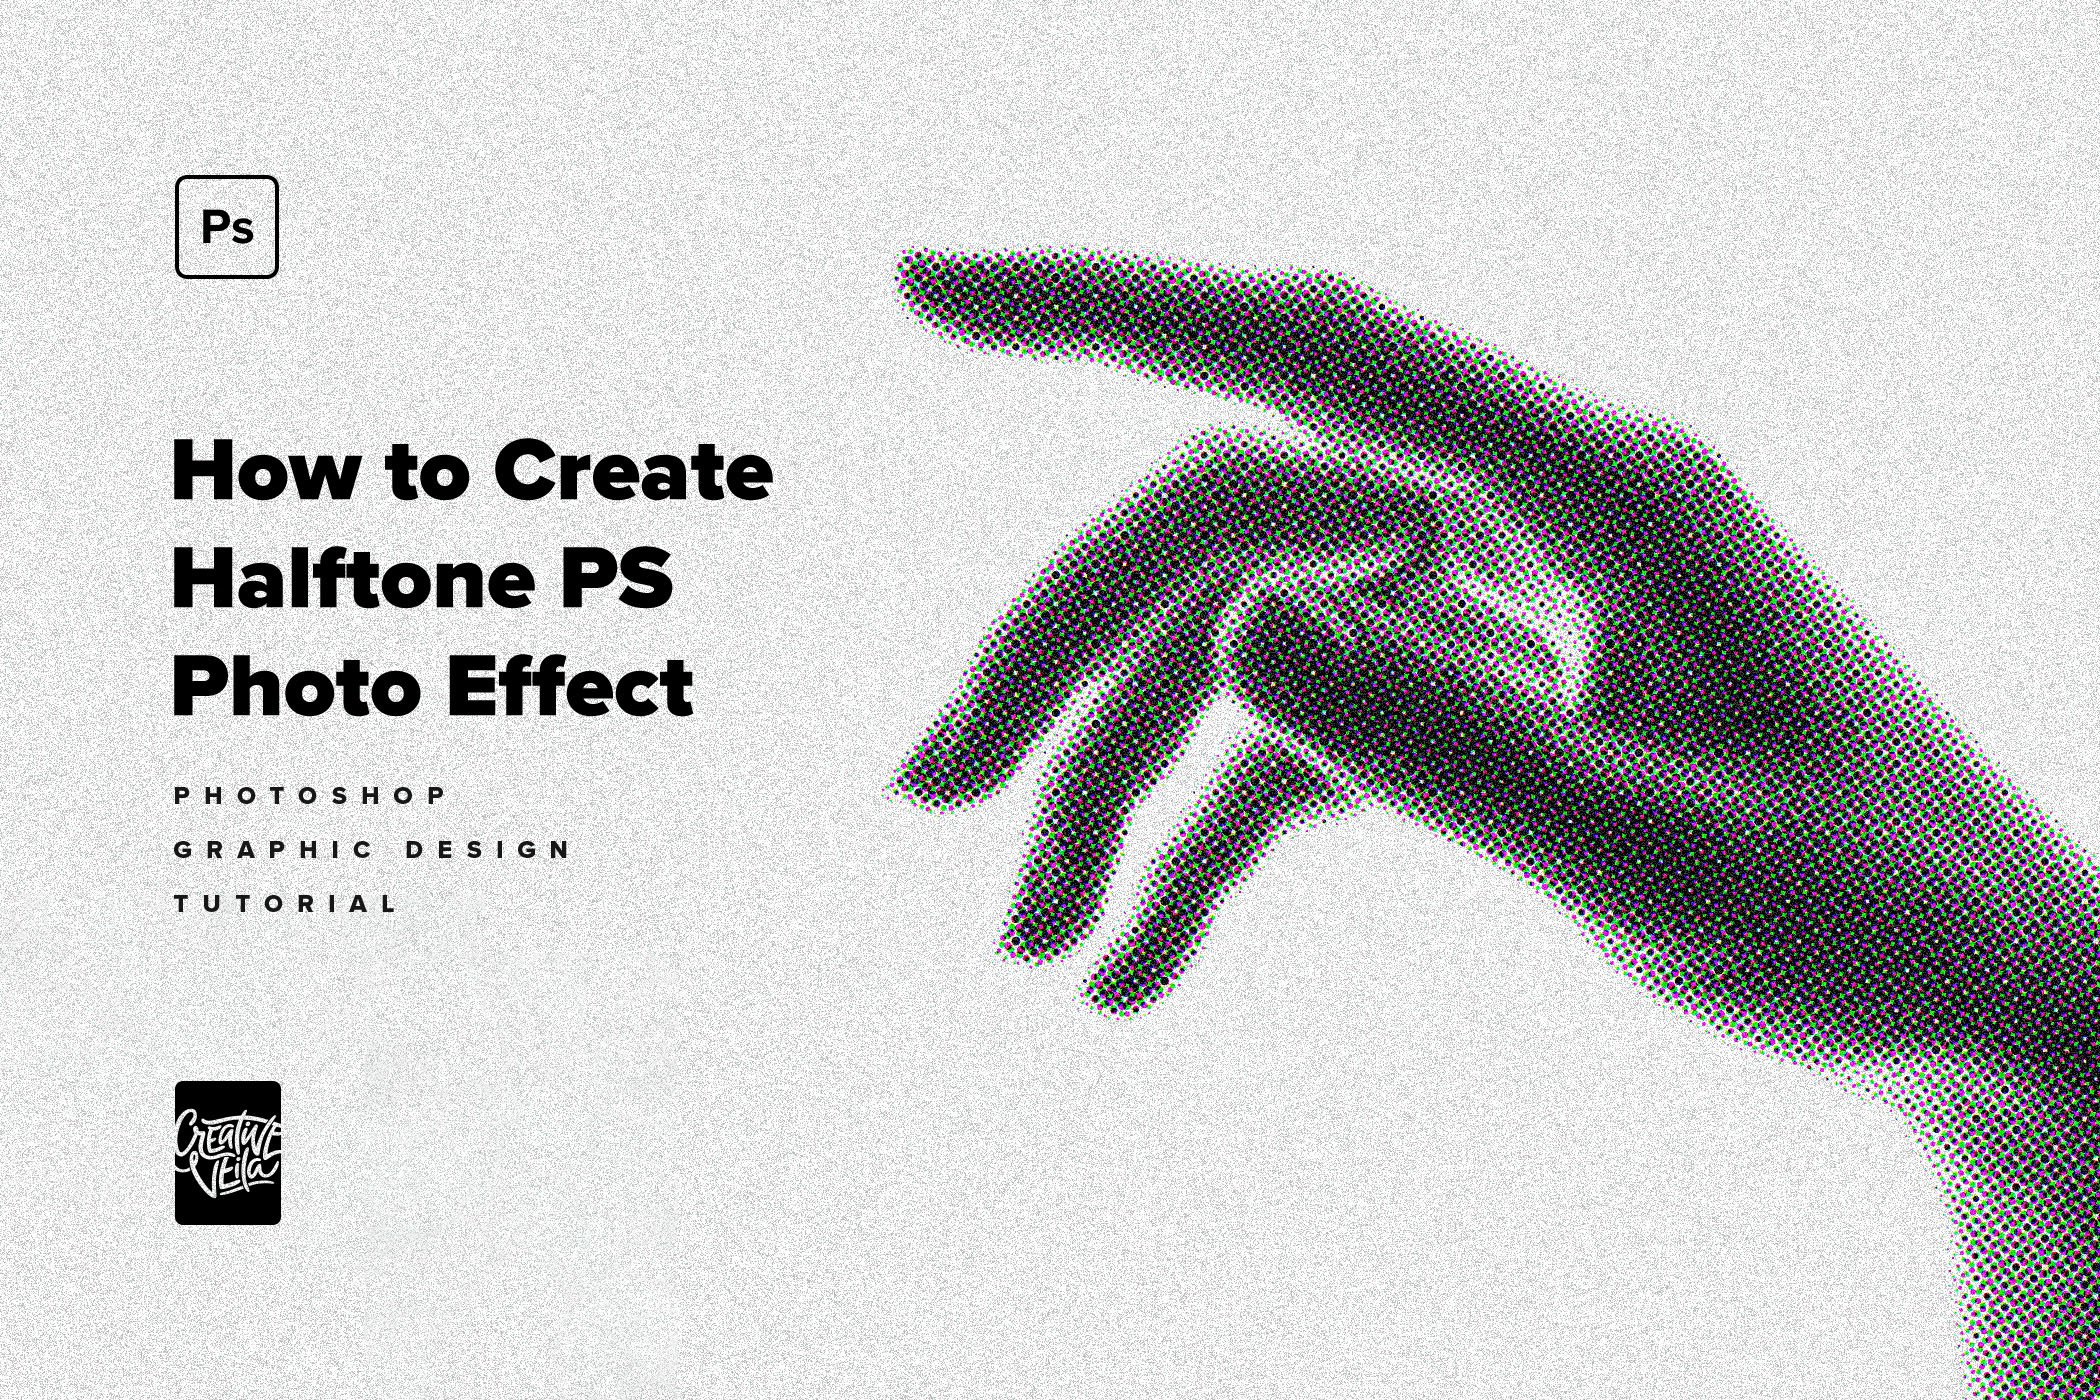
Halftone is the classic print trick that builds an image out of dots — and Photoshop gives you three built-in ways to recreate it. Color halftoning uses dots, varying in size or spacing, with CMYK separations to simulate continuous-tone imagery. In this tutorial we'll create an authentic retro halftone photo effect with the Color Halftone filter, then cover two more methods — bitmap halftone screens and the Filter Gallery — so you can pick the right dots for any project.
Step 1. Pick a High-Contrast Photo
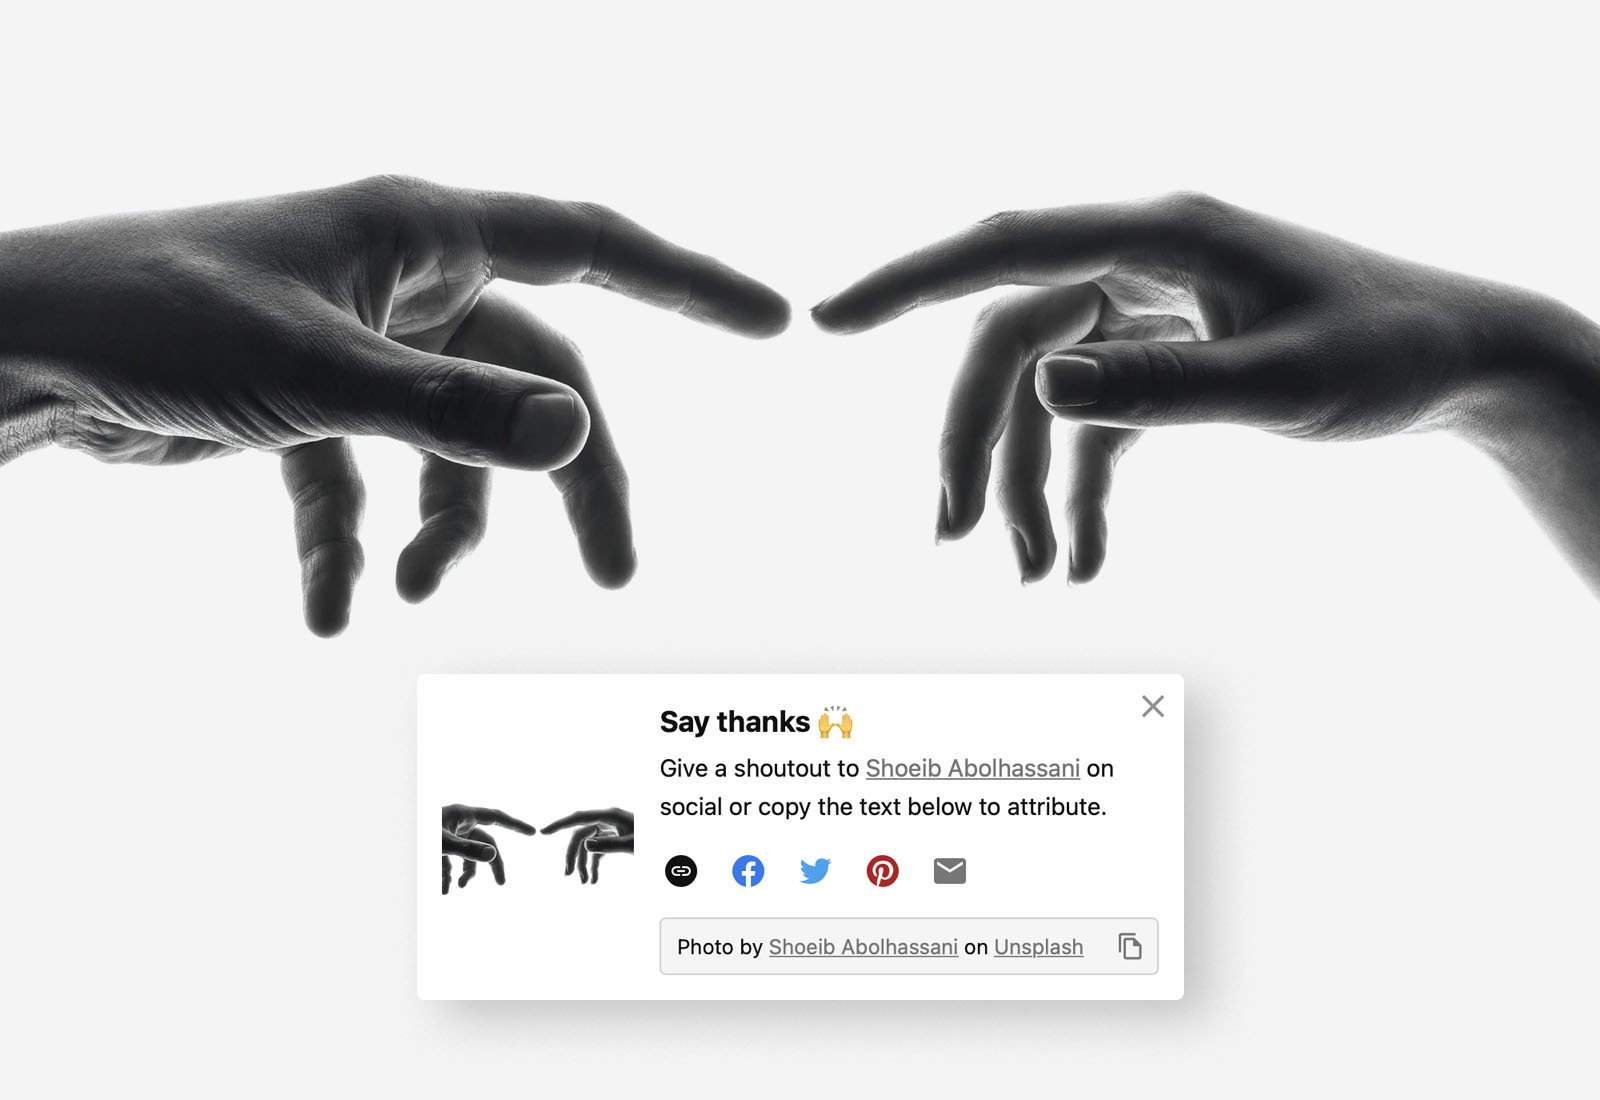
We start with research to find a great photo to work with. We'll use a high-contrast image for the best result, which would look great with a halftone effect applied. Here is my pick, a photo of two person’s connecting fingers by Shoeib Abolhassani you can download for free on Unsplash.
Step 2. Convert the Image to a Smart Object
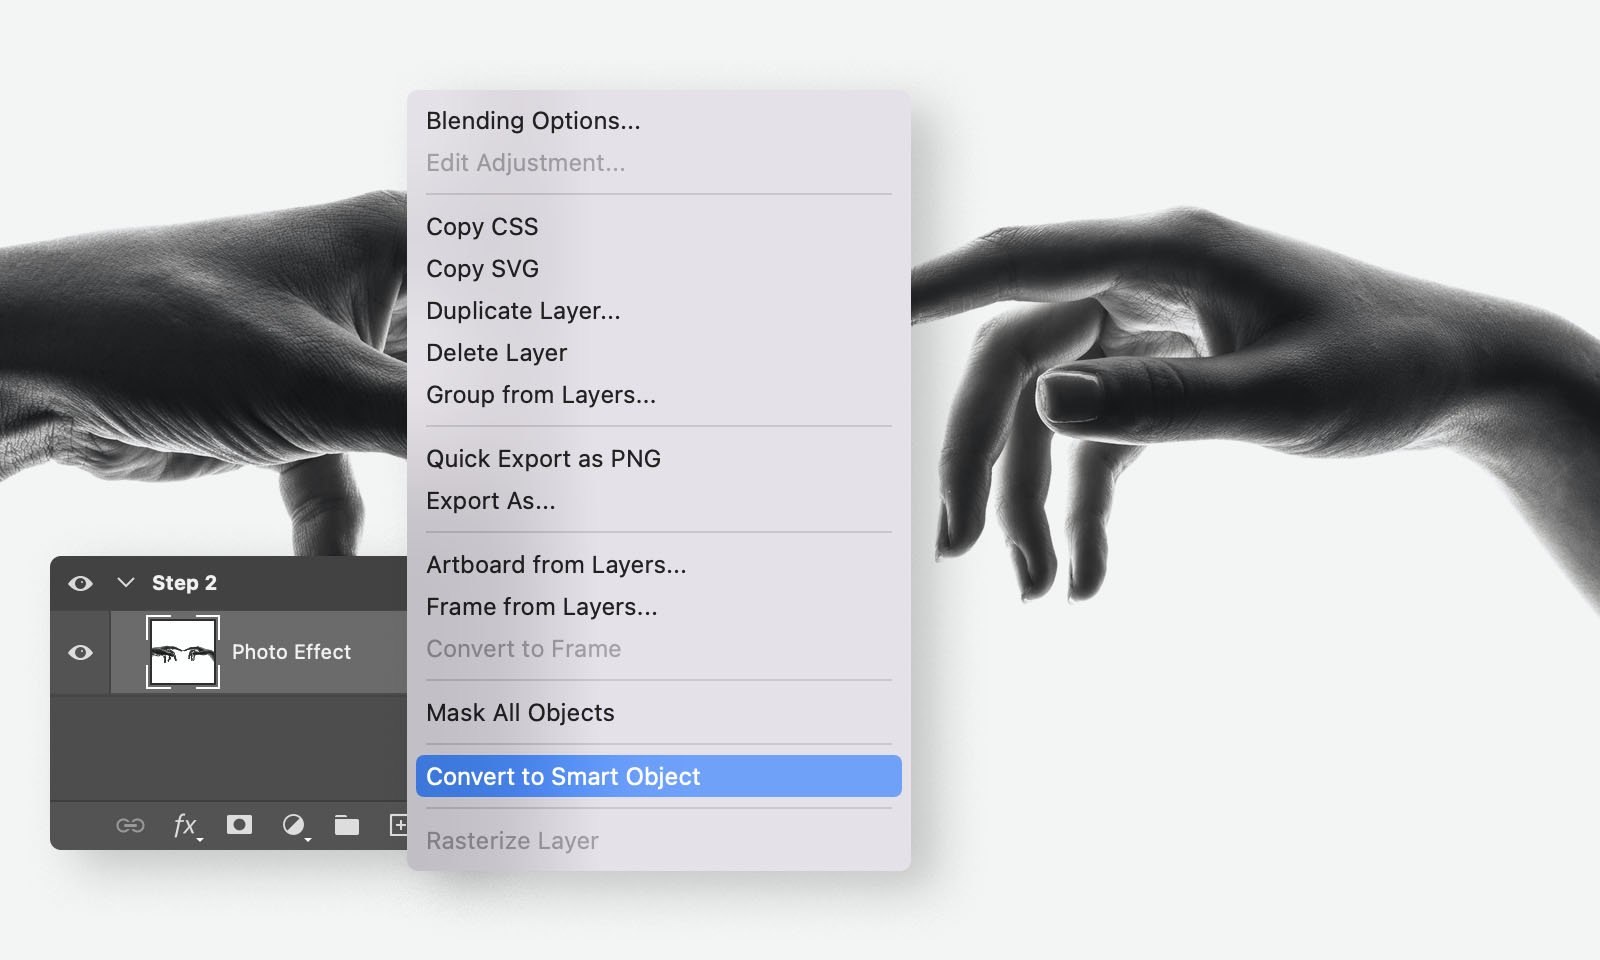
We'll use the Smart Object feature to make this effect non-destructive and fully editable. This means you can always make changes in your initial design, even when the effect is already applied. Open the image you downloaded, name the layer 'photo effect' to ensure your Smart Object would be properly named, select your image layer, hit the right mouse button, and click on the Convert to smart object command.
Step 3. Apply the Color Halftone Filter in Photoshop
Now we apply the built-in Photoshop halftone filter. Go to Filter > Pixelate > Color Halftone. Set the Radius and CMYK channels parameters to re-create my effect as shown on the screenshot.

Step 4. Add Noise for the Retro Grain
The effect would be incomplete without a grainy render to add this legit retro vibe to our artwork. Go to Filter > Noise > Add Noise, and set parameters as the screenshot shows.

Final Result
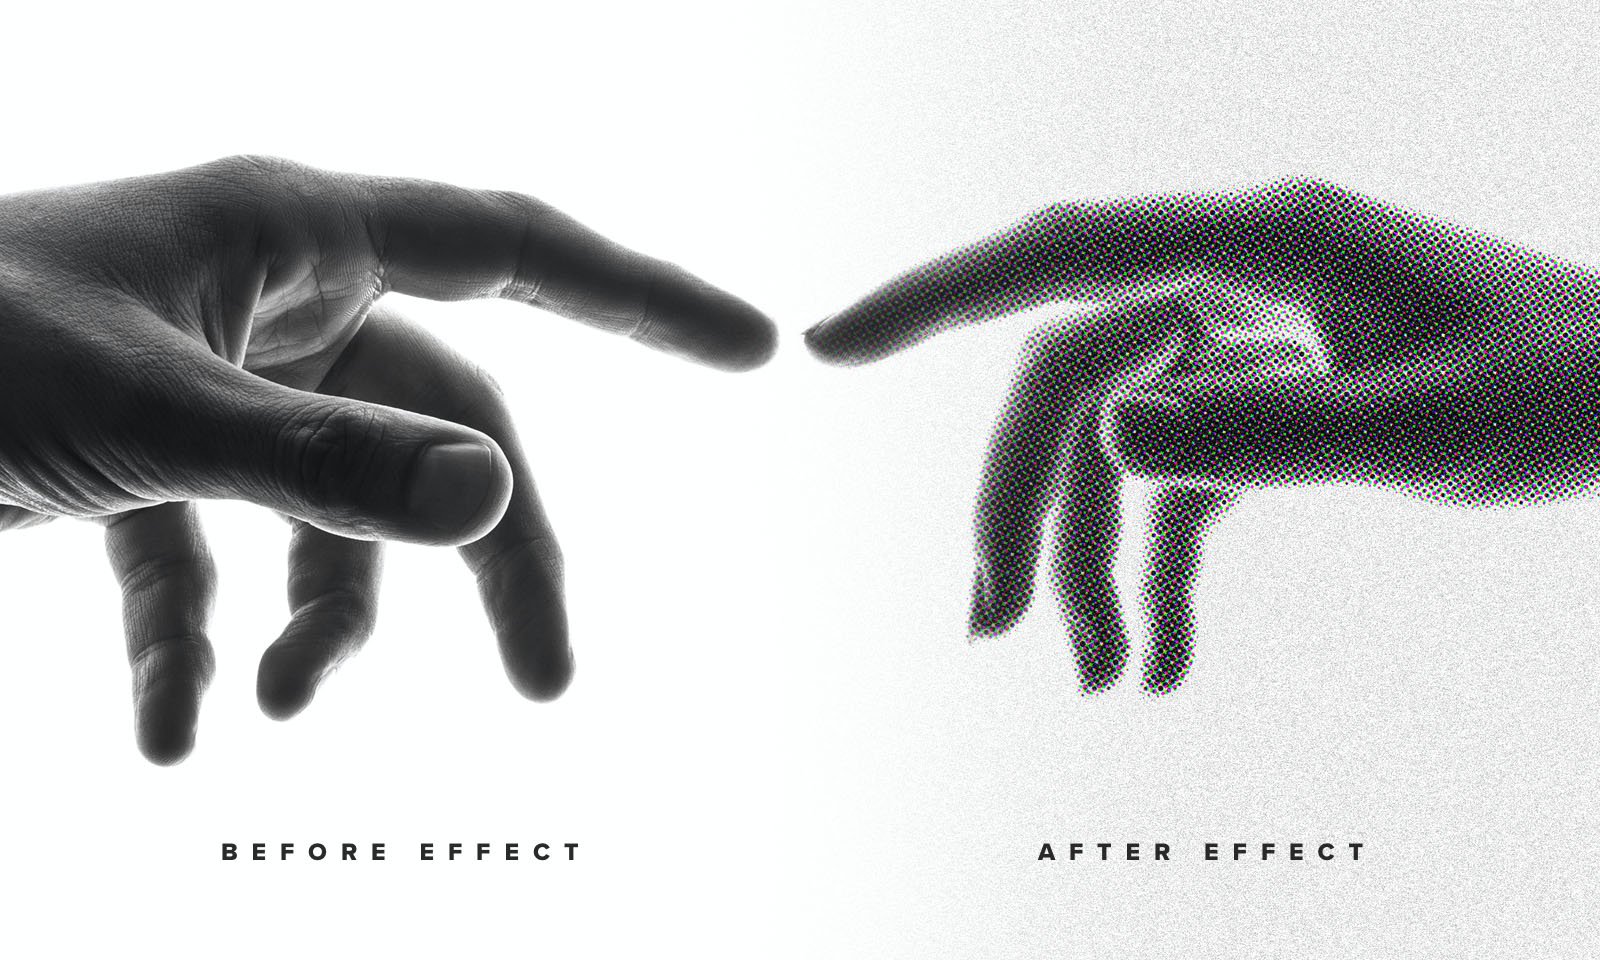
And we're done! The best part of this template is you can edit the original image or replace it with another inside the Smart Object, save it, and Photoshop will instantly apply the effect again.
Color Halftone Photoshop Settings Explained
The Color Halftone dialog looks cryptic, but there are only two things to understand: dot size and screen angles.
Max. Radius controls the size of the halftone dots in pixels. The larger the radius, the bolder and more graphic the effect. For a subtle print-like texture, stay around 4–8 px; for that punchy retro comic look, push it to 10–15 px. Keep in mind the radius is tied to your image resolution — the same value renders much finer dots on a 4000 px photo than on a 1200 px one, so always judge the result at 100% zoom.
Channels 1–4 set the screen angle for each ink, just like on a real printing press: Channel 1 is cyan, 2 is magenta, 3 is yellow, and 4 is black. Photoshop's defaults (108, 162, 90, and 45 degrees) recreate the classic CMYK rosette pattern — that slightly misaligned, vintage-print vibe you see in old magazines. That's what we used in this tutorial.
Two useful variations to experiment with:
Monochrome halftone: set all four channels to the same angle (45 is the classic choice), and the dots will stack instead of forming rosettes — a clean, single-screen look with no color fringing. Convert the photo to black and white first for an authentic newspaper feel.
Exaggerated misprint: nudge one channel 5–10 degrees off the defaults, and the rosette pattern breaks into a moiré — great for glitchy, risograph-style artwork.
Since our image lives in a Smart Object, the filter stays editable: double-click Color Halftone in the Layers panel and re-tune the values anytime without starting over.
And if you'd rather skip the manual setup, our Halftone Photo Effects Pack comes with ready-made templates — or grab the Retro Halftone Procreate Brushes if you work on iPad.
This tutorial is created and fully compatible with the Adobe Photoshop CC version. For the best experience, we recommend using the latest Creative Cloud version of the app.